
BY [STEVE DREVET]
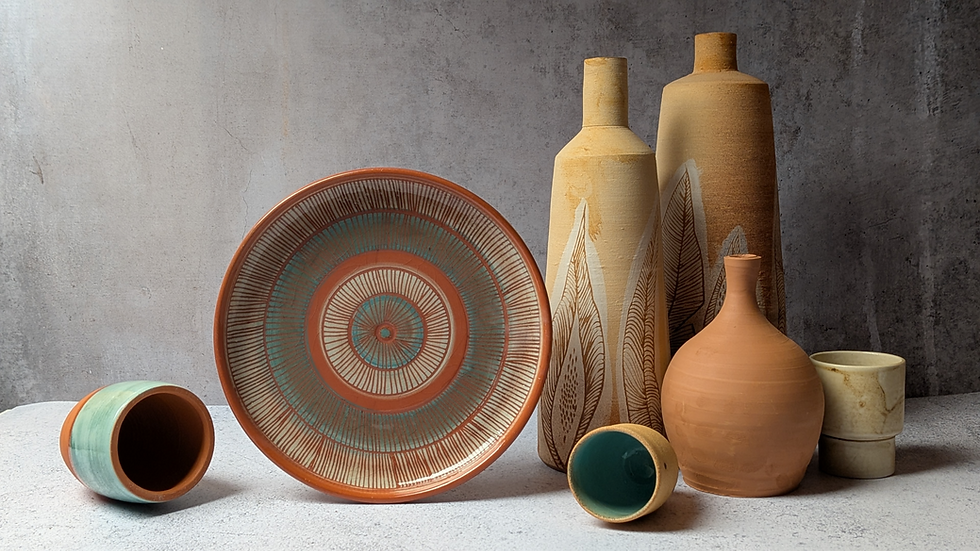
The challenges ceramic artists face
Before creating this course, I met and spoke with many ceramic artists, both professionals and hobbyists. The same difficulties came up again and again.
SPACE
“My workshop is too small or too cluttered. I don’t know where to set up my pieces to photograph them.”
“I don’t have the space or the budget to set up a real photo studio.”
LIGHT
“In winter my workshop is too dark and my photos look dull.”
“I don’t know how to control reflections on glazed or porcelain pieces.”
SHOOTING
“I never know which images I should make. I take lots of photos almost at random, without knowing why some work… and others don’t.”
CAMERA SETTINGS
“I’m not really sure how to set up my smartphone, let alone a camera.”
“I’m a ceramic artist, not a photographer. I don’t have the time or the desire to follow a complicated technical course.”
PHOTO EDITING
“When I edit my photos, the result sometimes ends up looking quite different from the original piece.”
CONFIDENCE
“I’d like to apply to an exhibition, market or gallery, but my images don’t do my work justice.”
“My photos aren’t consistent from one piece to the next.”
The course in four modules
From the fundamentals to the main families of forms, each module addresses real, practical shooting problems.
THE FUNDAMENTALS
-
Natural & artificial light
-
Shooting area
-
Backdrops
-
Framing
-
Stability
-
Camera settings
-
Organising your images
-
Basic editing
Flat & Shallow Forms

-
Flat plates & soup plates
-
Serving dishes
-
Trays
-
Soap dishes
-
Trivets
-
Coasters & bottle coasters
-
Wall plaques
Hollow & Rounded Forms

-
Rounded, flared, conical & footed bowls
-
Shallow bowls
-
Small dishes
-
Serving bowls
-
Cups
-
Globular vases
-
Pots
CYLINDRICAL & Tall Forms

-
Cups
-
Tumblers
-
Mugs
-
Vases
-
Bottles
-
Pitchers
-
Carafes
-
Ollas
A 7-step method for building your images.
1
We begin with The Fundamentals.
Through lessons and demonstrations, you learn the essential foundations: lighting, the shooting area, backdrops, framing, camera settings, stability and simple editing.
Watch an excerpt from “The Fundamentals” module:
one of the lessons dedicated to lighting
2
In the three modules dedicated to flat, hollow and cylindrical forms, we move on to practical exercises.
3
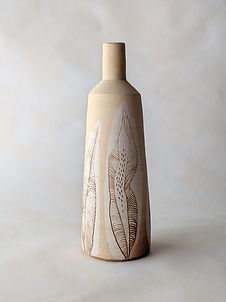
Create a clear main image.
Observe the piece, choose the lighting, control reflections, and compose a clear first shot.


4
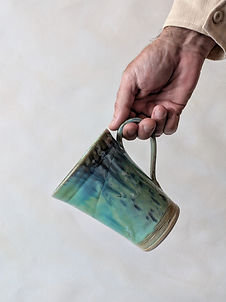
Add additional images.
Show what the main image alone cannot fully communicate: the interior, underside, details, signature, hands, or a short video.


5
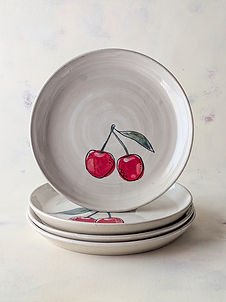
Photograph series and collections.
Create consistent images when several pieces need to work together.

6
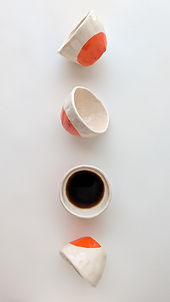
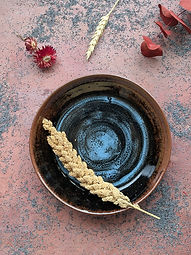
Create lifestyle images.
Build an atmosphere around the piece without losing clarity.


7
Show the object in use.
Create photos and videos that clearly show
the piece in use.


By the end of the course, you’ll be able to independently build a complete, consistent presentation tailored to each of your pieces.
Content, access and price
what’s included
-
4 modules
-
30 lessons
-
60 progressive exercises
-
More than 3 hours of video
-
PDF resources
-
Equipment advice and references
-
Links to the backdrops, supports and accessories used
Access
-
Immediate lifetime access
-
Free access to future updates
-
English and french audio
-
English and Spanish subtitles, with more languages to come
Who is this course for?
✔ Professional and semi-professional ceramic artists and craftspeople
For selling, applying to exhibitions or markets, approaching galleries, documenting a collection or preparing a catalogue.
✔ Passionate hobbyists
To improve, present your pieces more effectively, share them, or simply keep a faithful record of your work.
✔ Makers, designers and creatives
To photograph small series or one-off pieces with a consistent presentation.
✔ Students, workshops and schools
To learn a clear method, document work and make progress more easily.
✔ Galleries, shops, associations and collectors
To photograph pieces for an exhibition, inventory or archive.
✔ Beginner and experienced photographers
To discover a structured approach to object photography applied specifically to ceramics.
Frequently asked questions
Is this course suitable for beginners?
Yes. It is designed for beginners as well as more experienced makers who want to photograph and film their own work using a simple, repeatable method. No prior knowledge is required.
Does the price include future updates?
Yes. Your access includes future updates to the course.
These may include:
-
new exercises;
-
new demonstrations;
-
additional PDF resources;
-
additional shooting examples;
-
improvements and corrections to existing content.
Do I need a camera?
No. The entire course is designed to be followed with a smartphone. The same principles can also be applied with a camera.
Do I need a high-end smartphone?
No. The course is designed to work with an ordinary smartphone, without requiring a Pro mode or complicated settings.
To work from a beginner’s point of view, I deliberately use automatic mode and JPEG, with only a few simple adjustments such as brightness, focus and white balance.
During the workshops used to develop this course, I worked with ceramic artists using everything from entry-level smartphones to more recent models. With good light and the right method, they were able to create clean, accurate, high-quality images.
The aim of this course is not to teach you how to master an expensive smartphone, but to show you how to get the best from the phone you already have.
What equipment do I need for the course?
A smartphone, a tripod and a few simple accessories are enough for most of the exercises. References for the equipment used are provided in the course resources.
Is the course available in other languages?
The audio is in French. Subtitles are available in English and Spanish. Additional languages will be added gradually.
What types of pieces does the course cover?
The method is designed for the main families of functional ceramic objects: flat, hollow, rounded, cylindrical and vertical forms. Sculptures and monumental pieces are not covered in this course.
Jewellery will be covered in a future module.